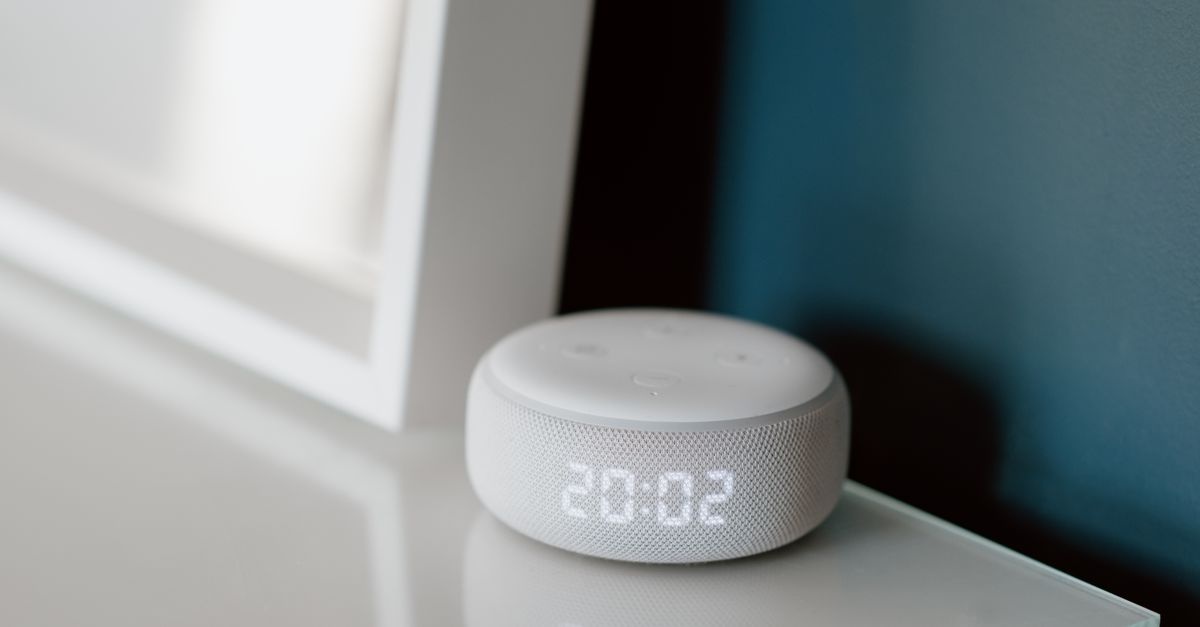
Smart homes aren’t about gadgets for the sake of novelty; they’re about crafting a living environment that is more comfortable, secure, efficient, and delightful to use. If you have ever wondered how to bring all the pieces together without chaos, you’re in the right place. In this comprehensive guide, you will learn how to design a smart home that is future-ready, privacy-conscious, and easy for everyone in your household to control. From defining clear goals and choosing interoperable ecosystems to wiring, security, and automations, you’ll get a practical blueprint you can follow step by step.
What a Smart Home Means Today
Modern home automation blends connectivity, intelligent decision-making, and human-centered controls. In practice, that means a foundation that supports:
- Connectivity: Devices communicate reliably via Wi-Fi, Thread, Zigbee, Z-Wave, or Bluetooth, with minimal latency and robust coverage.
- Automation: Context-aware routines use triggers like motion, time, sunlight, presence, and energy price signals to run the home.
- Control: Intuitive interfaces such as voice assistants, wall switches, dashboards, and mobile apps—plus offline fallback where possible.
- Insight: Energy and occupancy analytics inform decisions, optimize comfort, and reduce costs.
While the technology evolves quickly, the best systems are built on principles that age well: interoperability, resilience, security, and simplicity.
How to Design a Smart Home: The Big Picture
Before diving into brands and specs, zoom out. Learning how to design a smart home is about sequencing decisions: define use cases, select an ecosystem and standards, plan your network and power, select devices, design automations, and iterate. This strategic order reduces rework and prevents costly dead ends.
Step 1: Clarify Goals, Use Cases, and Constraints
Every successful project starts with purpose. Technology should serve your lifestyle. Ask what results you want, not which product to buy first.
Map Scenarios Room by Room
- Entry: Lights activate on arrival after sunset, door unlocks with phone presence, camera records motion, and a welcome scene plays soft music.
- Kitchen: Voice scenes for cooking, task lighting, and ventilation triggered by stove or air-quality sensors.
- Living room: Single-tap movie mode dims lights, closes shades, and switches TV inputs; multi-zone audio joins seamlessly.
- Bedrooms: Circadian lighting, gentle wake-up routines, and climate comfort scheduled to sleep patterns.
- Bathrooms and laundry: Humidity-based fan control, water leak detection with auto shutoff, occupancy-based lights.
- Outdoors: Irrigation aligned with weather, perimeter lighting automated by sunrise/sunset and motion, smart garage access.
User Personas and Accessibility
Consider who uses your home and how. Elderly residents may prefer tactile wall controls and voice prompts; children need safe, simple interfaces; guests should never feel locked out of basic functions. Build inclusivity into your plan:
- Redundancy: Always have a physical override for lights, locks, and HVAC.
- Clarity: Name devices and rooms consistently. Plain-language labels beat clever nicknames.
- Comfort: Customize voice models and button actions to match habits (e.g., one press for general lighting, hold for scene).
Step 2: Budgeting and Phasing
Even with unlimited ambition, budgets and timelines are real. A phased plan ensures steady progress and quick wins.
Prioritize by Impact
- Must-haves: Network backbone, lighting control, thermostat, door locks, and essential sensors (smoke, CO, water leak).
- Nice-to-haves: Motorized shades, whole-home audio, smart irrigation, advanced energy monitoring.
- Later additions: Niche sensors, custom dashboards, and deep data analytics.
Phased Rollout
- Pilot a single room: Validate your ecosystem, test automations, and refine naming conventions.
- Core systems first: Lighting, climate, and security, then add media and specialty devices.
- Iterate quarterly: Review energy data and family feedback; expand or adjust accordingly.
Step 3: Choose Ecosystems and Standards
Interoperability reduces friction and future-proofs your investment. The right ecosystem simplifies control and automation across brands.
Matter, Thread, Zigbee, Z-Wave, and Wi-Fi
- Matter: A cross-vendor standard that enables devices to work in multiple apps with local control; aims to avoid vendor lock-in.
- Thread: A low-power mesh for IoT, complementary to Matter; great for sensors and battery devices.
- Zigbee and Z-Wave: Mature meshes with wide device support; often require a hub or bridge.
- Wi-Fi: High bandwidth for cameras and media; ensure proper segmentation and capacity planning.
- Bluetooth LE: Short-range setup and presence detection; less common for mission-critical automation.
Cloud vs Local Control
- Apple Home (HomeKit), Google Home, and Amazon Alexa: Polished UI and voice; Matter support improves cross-compatibility.
- Home Assistant, Hubitat: Local-first orchestration with powerful automations and privacy benefits.
- Bridges and hubs: Philips Hue, Lutron, Aqara, and similar bridges provide stability and low latency.
Tip: Favor platforms that support local control, open APIs, and standards-based devices. This balance gives you flexibility without sacrificing performance.
Step 4: Network and Power Infrastructure
You can’t build a reliable smart home on a shaky network. Rock-solid connectivity is non-negotiable.
Design a High-Performance Network
- Mesh Wi-Fi: Place access points on each floor and avoid double NAT. Use Ethernet backhaul where possible.
- 2.4 GHz vs 5/6 GHz: IoT often prefers 2.4 GHz for range; reserve 5/6 GHz for phones, laptops, and media streaming.
- Channel planning: Avoid interference with neighbors; set fixed channels on APs and Zigbee meshes to prevent overlap.
- DHCP reservations: Assign consistent IPs to critical devices for easier management and troubleshooting.
Wired Backbone and Power
- Structured cabling: Run Cat6 or better to TVs, access points, cameras, and hubs. Centralize in a ventilated rack.
- PoE: Use Power over Ethernet for cameras, access points, and touch panels to simplify power and enable UPS backup.
- Electrical readiness: Ensure neutral wires in switch boxes; add dedicated circuits for network gear and server closets.
- UPS and surge protection: Keep hubs, bridges, and routers on battery backup to maintain automation during outages.
Step 5: Privacy and Security by Design
As you learn how to design a smart home, treat privacy and security as first-class features, not afterthoughts.
Network Segmentation and Access
- VLANs or separate SSIDs: Isolate IoT devices from laptops and work devices; restrict east-west traffic where possible.
- Strong authentication: Use unique passwords, a password manager, and multi-factor authentication on cloud accounts.
- Firmware updates: Keep devices current; enable automatic updates on critical gear.
Data and Privacy Practices
- Local-first automations: Prefer hubs that work offline. Disable unnecessary cloud features.
- Camera hygiene: Position cameras to avoid private spaces; enable privacy shutters or LED indicators.
- Logs and retention: Store logs securely and purge regularly. Be transparent with household members about what is monitored.
Step 6: Select Devices and Sensors That Fit the Plan
Choosing devices is easier once your ecosystem and standards are set. Evaluate reliability, latency, local control, and vendor support.
Lighting and Switches
- Bulbs vs switches: Smart switches maintain familiar wall control and work with standard bulbs. Smart bulbs excel at color scenes and circadian lighting.
- Motion and ambient sensors: Combine occupancy and light level data to avoid lights-on during bright daytime.
- Scenes: Program Relax, Focus, Cooking, and Nightlight scenes. Use double-press and hold actions on switches for advanced control.
Climate and Air Quality
- Smart thermostats and TRVs: Zone comfort room by room; automate setbacks when the house is empty.
- HVAC integration: Use door/window sensors to pause HVAC when windows open; run fans based on humidity or PM2.5 readings.
- Heat pumps and radiant: Coordinate multiple heating sources with priority rules to optimize efficiency.
Security and Access
- Smart locks: Use PINs or phone presence; create temporary codes for guests and cleaners.
- Doorbells and cameras: Prefer wired PoE for reliability; set zones and privacy masks to reduce false alerts.
- Sensors: Contact, motion, glass-break, and vibration sensors strengthen your security graph.
Energy, Water, and Safety
- Smart plugs and relays: Meter appliances, power-cycle flaky gear, and cut phantom loads overnight.
- Whole-home energy monitors: Track usage by circuit; automate based on real-time consumption or price signals.
- Water leak detectors and shutoff valves: Place under sinks, behind toilets, and near water heaters; auto-close on detection.
- Smoke and CO alarms: Integrate alerts to trigger lighting, unlock doors, and notify neighbors.
Entertainment and Voice
- Whole-home audio: Group speakers per room; set volume limits in kids’ rooms.
- Universal remotes and HDMI-CEC: Simplify TV control; create scenes that manage lights and shades with playback.
- Voice assistants: Place devices thoughtfully; train voice models and set household permissions.
Shades, Garages, and Outdoors
- Motorized shades: Automate by sun position and temperature; add secure manual controls.
- Garage doors: Geofence opening on arrival; auto-close after a timeout or at night.
- Irrigation: Integrate weather forecasts and soil-moisture sensors to save water.
Step 7: Automations, Scenes, and Routines
Thoughtful automations are the difference between cool gadgets and a cohesive home. As you refine how to design a smart home, focus on context and safety.
Think in Triggers, Conditions, and Actions
- Triggers: Motion, contact open/close, time, sunrise/sunset, presence, energy load, air quality.
- Conditions: Mode (Home/Away/Night), lux level, occupancy, weather, price tier.
- Actions: Lights, thermostats, locks, media, notifications, and webhooks for integrations.
Example: If motion is detected in the hallway after 11 pm and lux is below 20, set nightlights to 15% and disable after 5 minutes of no motion.
Presence and Geofencing
- Multi-signal presence: Combine phone geofence, Wi-Fi association, and door sensor to reduce false states.
- Guest mode: Temporarily override automations when visitors are present.
Safety and Fail-Safes
- Notifications with escalation: Leak alert triggers messages and auto shutoff; if unacknowledged, notify a backup contact.
- Timeouts and maximums: Auto-off for irons and space heaters; lock doors at night if left unlocked.
- Manual override: A long press on a wall switch should disable an automation for a set period.
Naming, Documentation, and Reuse
- Conventions: Room-Device-Location (e.g., Kitchen-Ceiling-Light-1).
- Tags and groups: Group devices by room and function; tag for scenes and modes.
- Backups: Export configurations of your hub regularly.
Step 8: Installation Strategies: Retrofit vs New Build
The path you choose depends on whether you are updating an existing home or wiring from scratch.
Retrofit Tips
- No-neutral switches: Use where wiring lacks a neutral; check compatibility with your bulbs.
- Battery sensors: Prefer long-life Thread/Zigbee models; place where signal is strong.
- Bridges: Use Hue or Lutron for ultra-reliable lighting without rewiring.
New Build or Major Renovation
- Run extra cable: Pull more Ethernet and low-voltage lines than you think you need; empty conduits are future-proofing.
- Panel planning: Allocate space for network racks, PoE switches, and battery backups.
- Sensors in walls: Pre-wire for contact sensors, occupancy sensors, and keypad controllers.
DIY vs Professional Help
- Electrical work: Follow code; hire a licensed electrician for mains wiring.
- Low-voltage and network: Many homeowners can DIY with research and proper tools.
- Commissioning: System integrators can save time on complex setups.
Step 9: UX and Control Philosophy
The best smart homes fade into the background. Make everyday actions intuitive and consistent.
Voice, Apps, and Wall Controls
- Voice: Great for scenes and one-off tasks; provide alternatives for quiet hours.
- Apps: Use for configuration and advanced routines—not as primary light switches.
- Wall controls: Keep physical controls in familiar spots; program multi-function buttons for common scenes.
Guests, Kids, and Elder Care
- Guest mode: Temporary access codes, simple scenes, and printed cheat-sheets on the fridge.
- Child safety: Disable dangerous automations; lock cabinets; limit device control in kids’ profiles.
- Assistance: Voice reminders, fall-detection sensors, and one-button help alerts.
Accessibility by Design
- Visual and tactile cues: Backlit switches and large, high-contrast buttons.
- Multi-modal control: Voice, app, and physical switch parity.
- Routines that reduce friction: Automate repetitive tasks like locking up and lights-out.
Step 10: Measure, Optimize, and Expand
Once the basics are in place, use data to improve comfort and efficiency. This is where how to design a smart home becomes a continuous craft.
Define KPIs
- Energy: kWh saved per month; peak demand reductions.
- Comfort: Time spent within preferred temp and lighting ranges.
- Reliability: Automation success rate and device uptime.
Iterate Systematically
- Quarterly reviews: Prune unused scenes and tighten conditions.
- A/B testing: Try different triggers or thresholds for key automations.
- Plan expansions: Add EV chargers, solar integration, batteries, and dynamic load management as needs grow.
A Two-Week Blueprint You Can Follow
Use this 14-day plan to go from concept to a working core system.
- Day 1: Define goals and room-by-room scenarios.
- Day 2: Choose ecosystem (Matter-capable hub, Home Assistant, or a hybrid) and voice platform.
- Day 3: Network audit; plan AP placement, VLANs, and DHCP reservations.
- Day 4: Install or tune mesh Wi-Fi; update firmware on networking gear.
- Day 5: Select lighting solution (switches vs bulbs), thermostat, and essential sensors.
- Day 6: Install pilot room devices; confirm signal quality and latency.
- Day 7: Build first scenes and automations; test edge cases and fail-safes.
- Day 8: Expand to hallway and entry; add lock, doorbell, and presence detection.
- Day 9: Add water leak sensors and a main shutoff valve; test notifications.
- Day 10: Integrate media controls; create Movie and Dinner scenes.
- Day 11: Set up energy monitoring and smart plugs; create eco modes.
- Day 12: Document naming conventions; set up backups; refine VLAN rules.
- Day 13: User training: teach voice phrases, button presses, and overrides.
- Day 14: Review KPIs; plan the next phase (shades, irrigation, or advanced analytics).
Common Pitfalls and How to Avoid Them
- Overbuying before planning: Start with goals, not gadgets.
- Neglecting the network: Poor Wi-Fi or channel overlap ruins reliability.
- Cloud-only dependencies: Prefer local control for core automations.
- Ignoring physical controls: Always provide switches and buttons for critical functions.
- Inconsistent naming: Sloppy labels lead to confusion and broken automations.
- No security model: Lack of VLANs, weak passwords, and stale firmware invite risk.
Frequently Asked Questions
How to design a smart home on a modest budget?
Prioritize your network, then add lighting control in main areas, a smart thermostat, and essential sensors (water leak, smoke/CO integration). Use bridges like Hue or Lutron for stability, and expand room by room. Buy standards-based gear so upgrades remain compatible.
Which ecosystem is most future-proof?
Matter with Thread support improves interoperability, while local-first controllers like Home Assistant add flexibility and privacy. A hybrid approach—bridges for reliability plus standards-based devices—balances convenience and longevity.
Do I need a professional installer?
Many projects are DIY-friendly, especially low-voltage work and device pairing. Hire licensed professionals for mains electrical, complex HVAC integrations, or whole-home rewiring.
What about privacy with cameras and voice assistants?
Favor local recording for indoor cameras, enable privacy shutters where possible, and place devices thoughtfully. Use strong authentication and restrict cloud features you don’t need.
How do I keep the system reliable over time?
Document naming and automations, schedule firmware updates, back up your controller, and review logs quarterly. Keep critical gear on UPS and avoid unnecessary complexity.
Putting It All Together
Designing a seamless smart home is a strategic process: define outcome-driven goals, select interoperable standards, invest in a dependable network, and build automations that respect context and privacy. When you understand how to design a smart home from first principles, you avoid vendor lock-in, reduce friction for your household, and create an environment that quietly elevates every day. Start small, iterate often, and let data guide your next move. Your blueprint to brainy living is now within reach.